Table Of Contents
- Installing the Virtual Machine
- How to use Poky
- How to customize u-boot
- How to customize the Linux Kernel
- How to create the SD card
- How to write the NAND memory
- How to use HOB
- How to configure the remote boot
- How to write a software application for the Pengwyn board
- Qt SDK
- Hardware
- Opkg Basics
- How to add 3”5 display with touch screen
Quick start guide
This document will guide you from importing the virtual machine to the debugging of an Hello World! example on a customized Linux distribution that you will generate with the Yocto toolchain.
Installing the Virtual Machine
The development environment is provided as a Virtual Machine image.
To be able to use it, you first need to install VirtualBox. The version must be 4.2.10 or above.
Go to:
https://www.virtualbox.org/wiki/Downloads
and download the version that suits your host operating system. You need to download and install the Extension Pack as well.
Important
Make sure that the extension pack has the same version of VirtualBox.
Install the software with all the default options.
Run VirtualBox and follow these steps:
Tip
If you are using Linux double click directly on the .ova file from your file explorer and jump to step 3.
- From the menu: File → Import Appliance
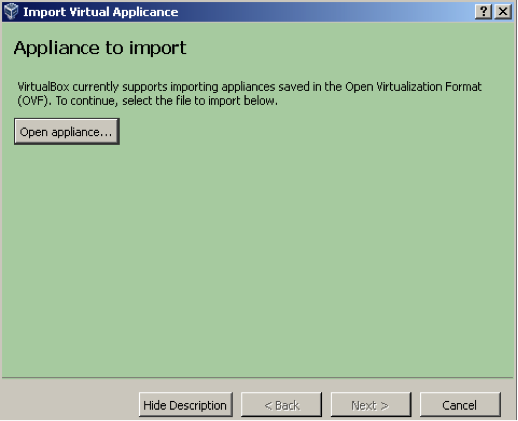
- Click on “Open appliance…” button and select the .ova file “PengwynYocto-beta-2013-03-19.ova”.
- After opening the appliance, click on “Shared Folders” and select a folder to share with your host operating system.
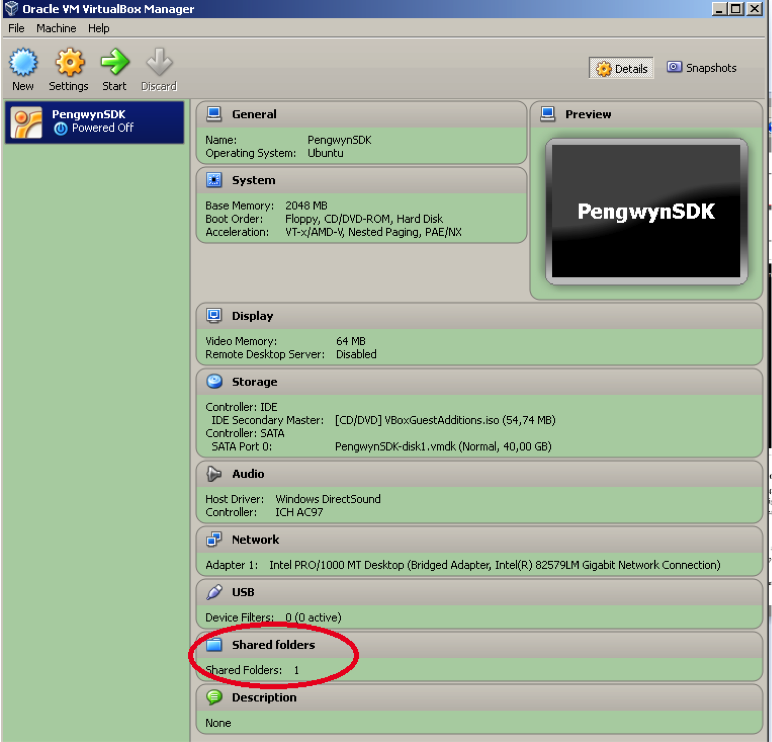
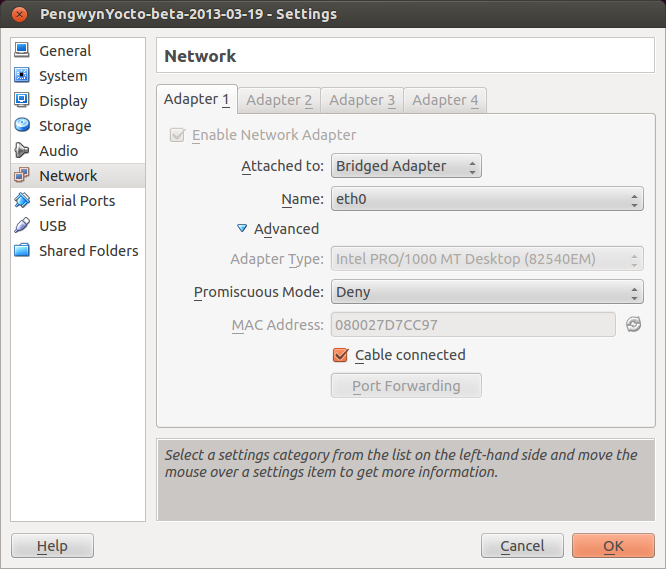
- The ethernet card must be attached to the LAN, not to the WLAN (within this guide you will be asked to connect the Pengwyn board to the PC with an ethernet point-to-point connection). To set the correct card, go to menu “machine -> Settings”. Click on “Network” tab and select your LAN card. Double check also that the field “Attached to” is set to “Bridged Adapter”. If you want to improve the performances of the virtual machine, please read How to setup the number of CPUs and the amount of RAM used by your virtual machine. Click on button “Ok” to apply your choices when you are done.
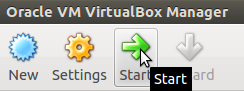
- Click the icon “Start” button on the toolbar.
How to configure the network on the virtual machine
Another important thing to do is to set the IP address of the virtual machine as static. To do this follow the next steps inside the virtual machine:
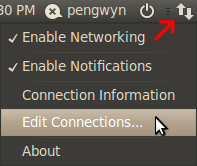
- Right-click on network connection icon. Select Edit Connections....
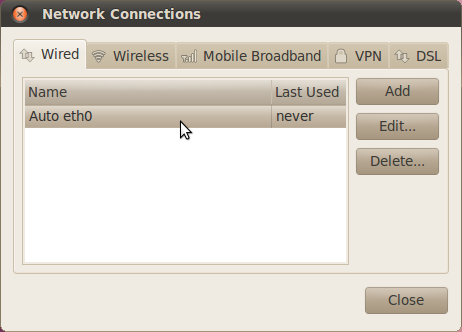
- In Wired” tab, select “Auto eth0” and press *Edit... button.
- Click to IPv4 Settings, press on Add button and insert the following address:
- Address: 192.168.0.20
- Netmask: 255.255.255.0
- Gateway: none
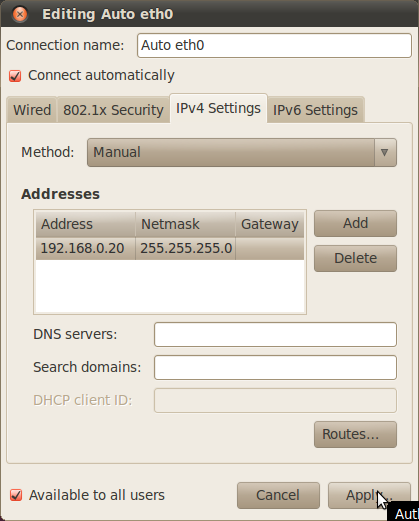
- Click on Apply.
How to setup the number of CPUs and the amount of RAM used by your virtual machine
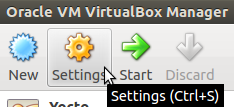
You can configure the system settings of the virtual machine. This is possible only if the virtual machine is off. First, select the Yocto based SDK virtual machine from the list of virtual machines, click on the Settings icon in the Oracle VM VirtualBox Manager window:
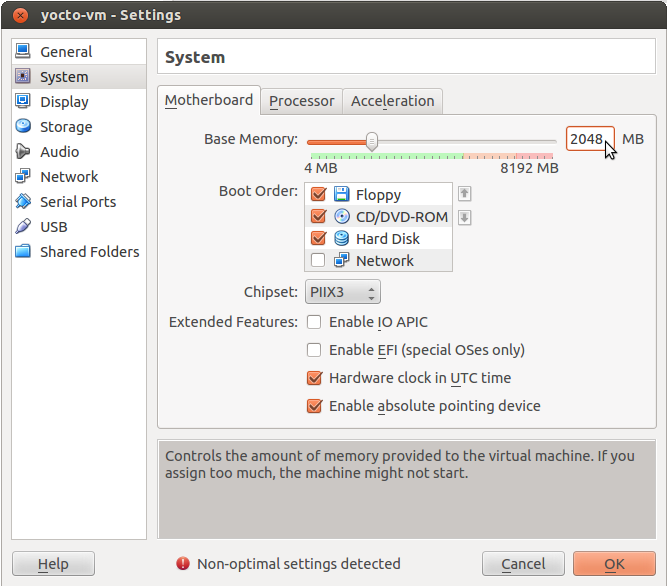
In the left menu, click on System. In the Motherboard tab you can select how much RAM you want to assign to the vm.
Select Processor tab to select how many CPUs you want to assign to the virtual machine:
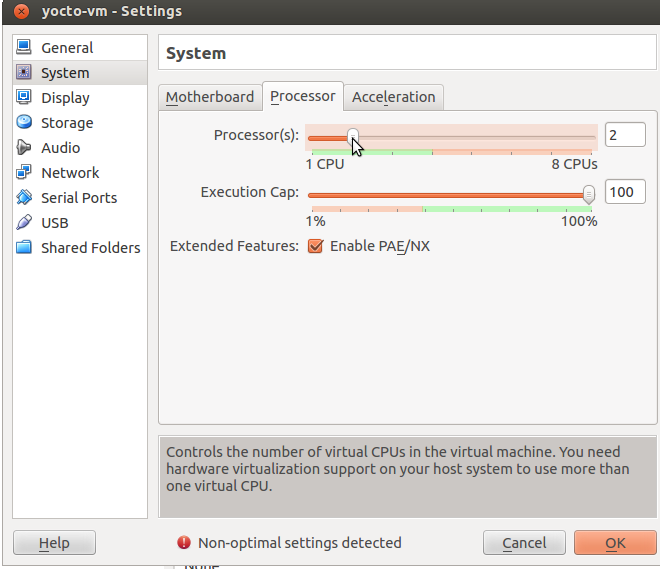
If you changed the number of processors, you might want to consider reading the guides on how to speedup the build process for Poky and HOB.
The welcome screen
The first time you boot the virtual machine you are asked to accept the licence agreement, than you can use the GUI of the welcome screen to easily access to toolchain and documentation.

If you close this application you can relaunch it with the icon on the desktop

The first screen is composed of three icons, if you click on Docs you will be redirected to the documentation page while WebSite will show you a web page where you can find more information about hardware and software tools of ArchiTech. Clicking on Develop will open a second screen also composed of three icons.

From that screen, you can:
- start HOB (the graphic interface for bitbake) to customize and build your preferred Linux distribution,
- select your preferred editor to write your application, that means the Eclipse IDE or Qt Creator,
- start the scripts to create an SD card with your customized Linux distribution
By clicking IDEs you will be brought to the last screen where you can finally choose between Eclipse or Qt Creator.

Let’s build the system
First of all you need to build a system, in this section you will build a predefined Linux image.
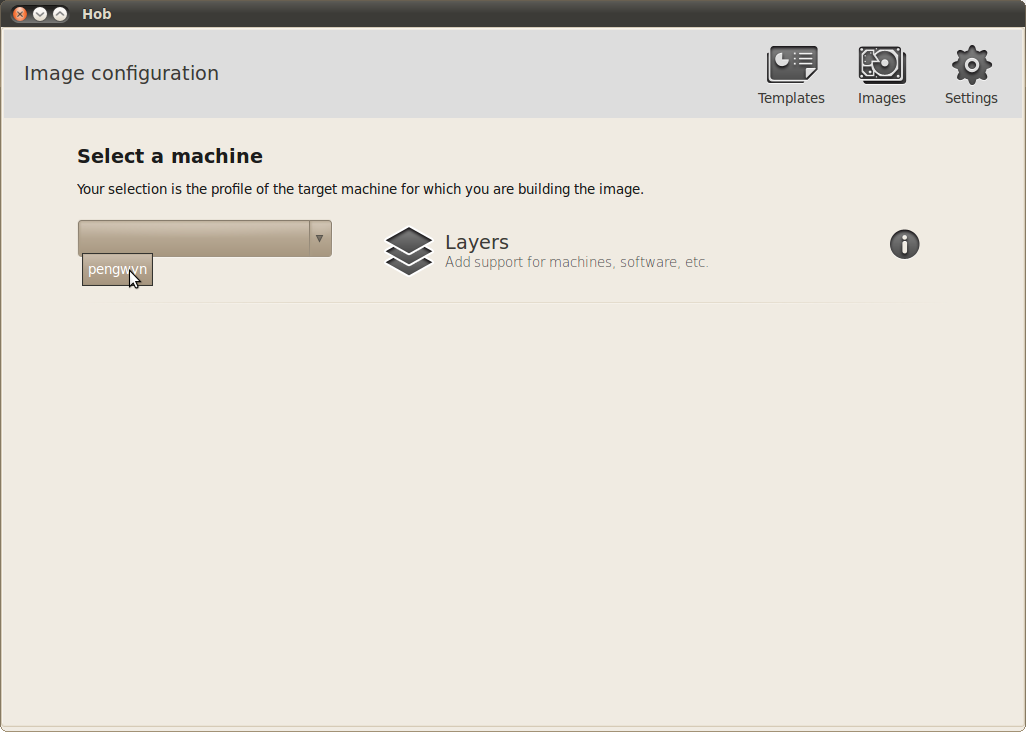
Click on HOB icon and wait until the GUI will show.
Important
To run HOB you need a working Internet connection. If internet connection doesn’t work you have to follow this instructions:
- Click with the right button of the mouse on the ethernet icon on the top right of the screen
- Select Edit Connections...
- In the wired tab select “wired connection” and press Edit button
- With another PC go to this web page: http://www.opendns.com/opendns-ip-addresses and copy the two IPs
- Go in the IPv4 Settings tab and write in DNS Servers text box the two IPs that you have copied
If required the sudo password is pengwyn
Select pengwyn as current machine from the drop-down menu.
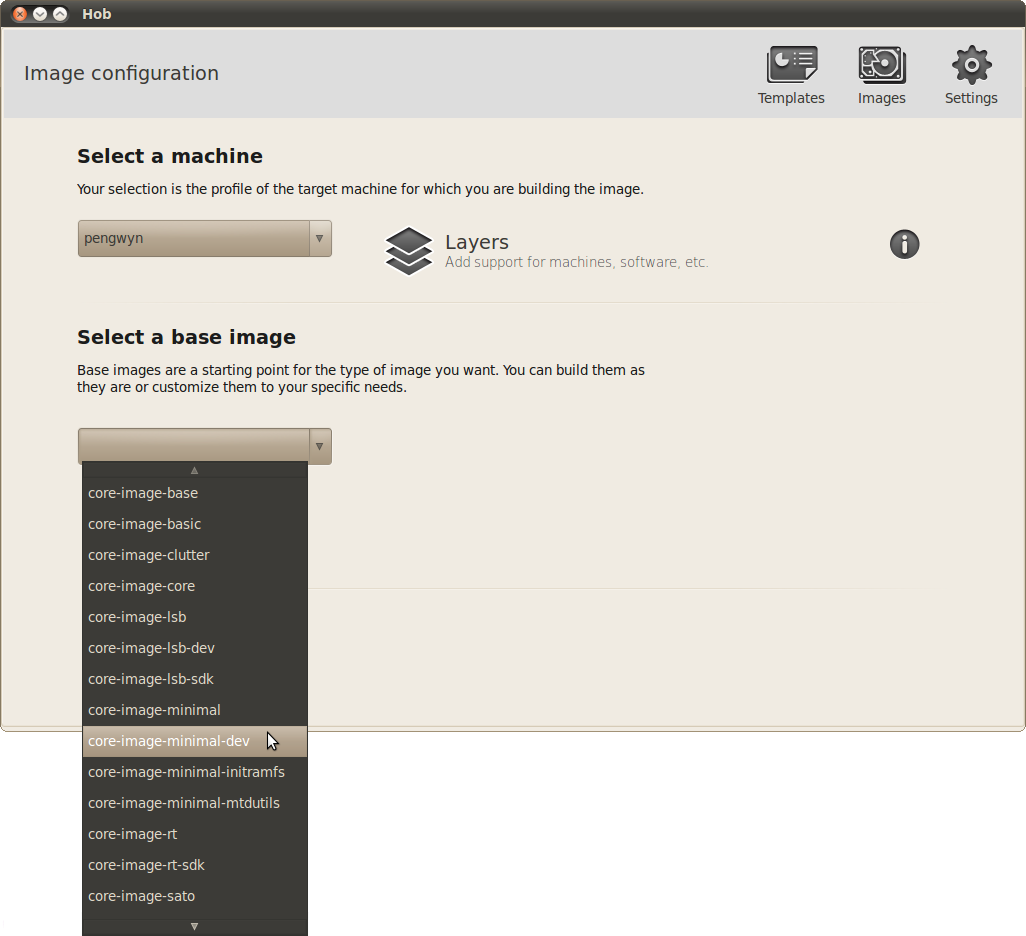
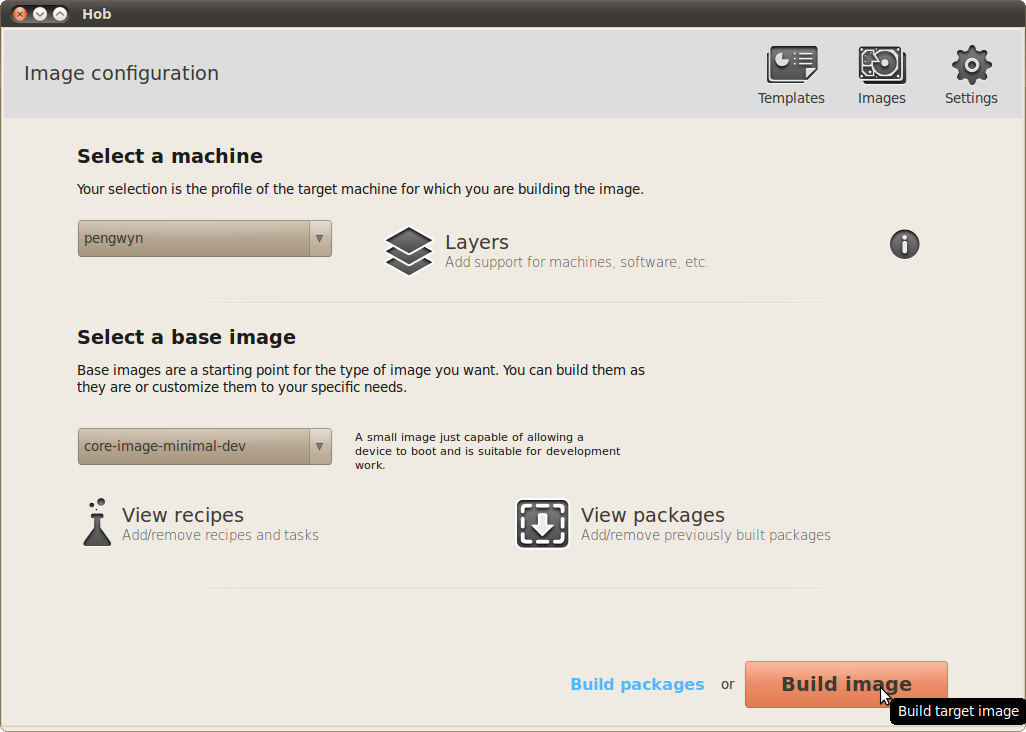
Select core-image-minimal-dev as base image.
Click on Build image button.
Important
The build process can last hours.
Wait until it finishes.
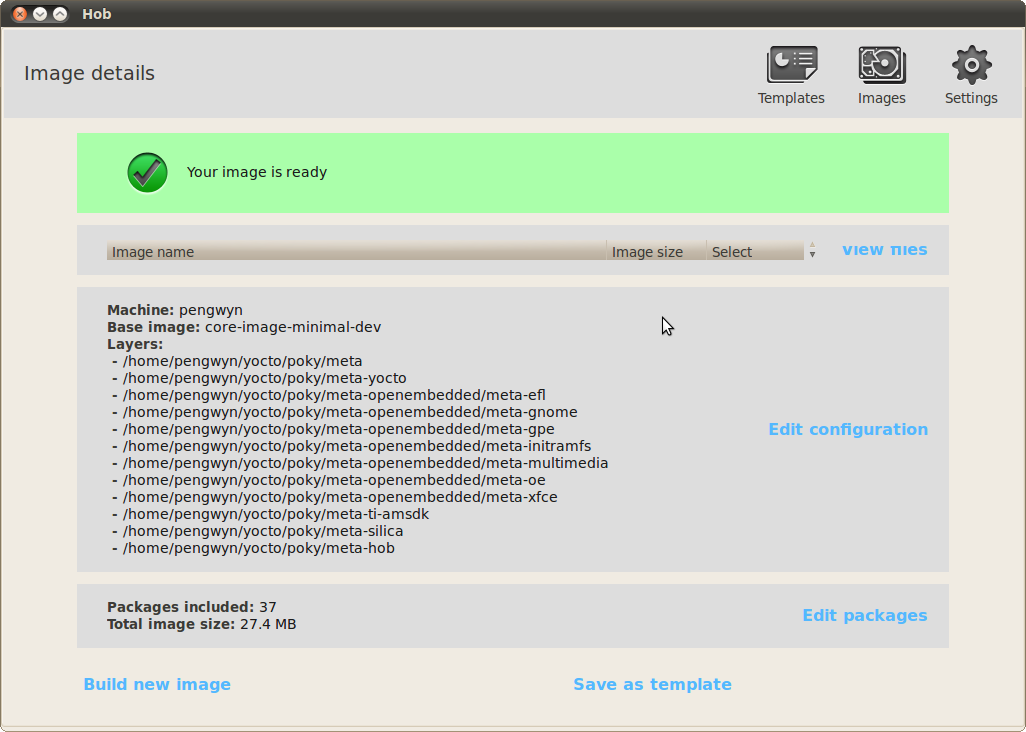
At the end of the build the images will be automatically saved in /home/pengwyn/yocto/build/tmp/deploy/images folder.
Create your SD card
Important
You must have an SD card reader/programmer to build the SD card. The SD card must be at the least 1GB size. VirtualBox will see only USB connected SD card reader/programmer. This guide will assume you have a USB device for such a purpose.
To create your SD card, please follow these steps:
- Connect your SD card reader to your computer than to the virtual machine, from VirtualBox menu select Devices → USB Devices → “your SDcard reader”.
- Insert the SD card into the adapter (in this example we are inserting an SD card already partitioned with a FAT and an EXT2 partition, that is the basic configuration for the Pengwyn board).
- Run the following command
pengwyn@pengwyn-desktop:~$ sudo fdisk -l

Disk /dev/sdb: 1971 MB, 1971322880 bytes
255 heads, 63 sectors/track, 239 cylinders
Units = cylinders of 16065 * 512 = 8225280 bytes
Sector size (logical/physical): 512 bytes / 512 bytes
I/O size (minimum/optimal): 512 bytes / 512 bytes
Disk identifier: 0x9bfa2153

   Device Boot      Start         End      Blocks   Id  System
/dev/sdb1   *           1           9       72261    c  W95 FAT32 (LBA)
/dev/sdb2              11         239     1839442+  83  Linux
- Find the device name from fdisk command output, in this example is /dev/sdb.
- Run the script that will prepare the SD card with all the needed files by clicking on the splash screen sd card icon, after having clicked the develop icon.


+------------------------------------------------------------------------------+
|                                                                              |
| This script will create a bootable SD card.                                  |
| The script must be run with root permissions.                                |
|                                                                              |
+------------------------------------------------------------------------------+


+------------------------------------------------------------------------------+
| LIST OF AVAILABLE DRIVES:                                                    |
+------------------------------------------------------------------------------+

#  major   minor    size   name
1:   8       16    1927168 sdb

Enter Device Number #:
[sudo] password for pengwyn:


+------------------------------------------------------------------------------+
|                                                                              |
| This script will create a bootable SD card.                                  |
| The script must be run with root permissions.                                |
|                                                                              |
+------------------------------------------------------------------------------+


+------------------------------------------------------------------------------+
| LIST OF AVAILABLE DRIVES:                                                    |
+------------------------------------------------------------------------------+

#  major   minor    size   name
1:   8       16    1927168 sdb

Enter Device Number #: 1

sdb was selected

sdb1  sdb2
72261 1839442

Mount the partitions
Emptying partitions
Syncing....

+------------------------------------------------------------------------------+
|      Copying files now... will take minutes                                 |
+------------------------------------------------------------------------------+

Copying boot partition
Copying file system partition
Copying modules
Syncing....
Un-mount the partitions
Remove created temp directories
Operation Finished

Press ENTER to finish
- Remove the SDcard
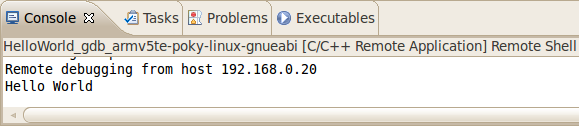
Run your first Application on Pengwyn board!

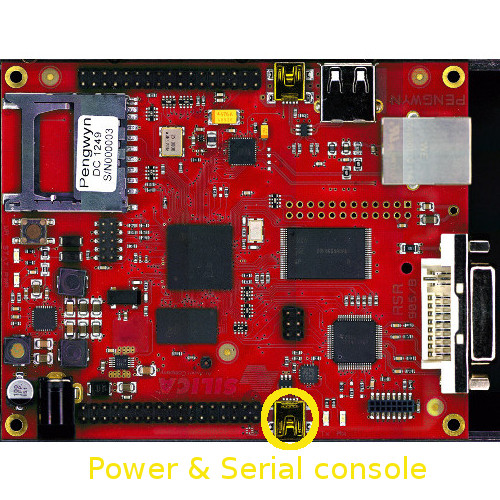
From the splash screen select Develop->IDEs and open Eclipse. Once the IDE is started, the project HelloWorld is opened by default. To build it click Project→Build All. To debug the application connect your Host PC to Pengwyn Board with an Ethernet cable. Connect the Pengwyn board to the PC by means of a usb cable to power the board and to have the serial console
On your Host Operating System open a terminal console (ctrl+alt+t) and run command:
minicom -w -s
choose select port setup and press Enter. Setup the port with the following configuration:
A -    Serial Device      : /dev/ttyUSB0
B - Lockfile Location     : /var/lock
C -   Callin Program      :
D -  Callout Program      :
E -    Bps/Par/Bits       : 115200 8N1
F - Hardware Flow Control : No
G - Software Flow Control : No
once you are done configuring the serial port, you are back to minicom main menu and you can select exit. press the reset button on the Pengwyn board. The login will appear inside the terminal of the Pengwyn board:
Yocto (Built by Poky 7.0.1) 1.2.1
ttyO0

pengwyn login:
Note
sometimes you need press enter to view the login
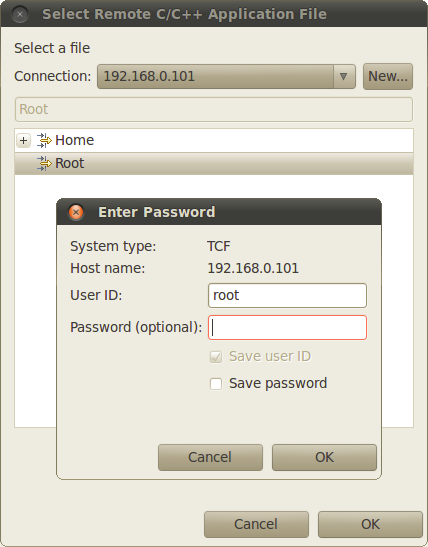
Insert root and press enter. run command:
ifconfig eth0 192.168.0.101
ping 192.168.0.20
If the output is similar to this one:
64 bytes from 192.168.0.20: icmp_req=1 ttl=64 time=0.946 ms
64 bytes from 192.168.0.20: icmp_req=2 ttl=64 time=0.763 ms
64 bytes from 192.168.0.20: icmp_req=3 ttl=64 time=0.671 ms
64 bytes from 192.168.0.20: icmp_req=4 ttl=64 time=0.793 ms
the ethernet connection is ok, then run command:
/etc/init.d/tcf-agent restart
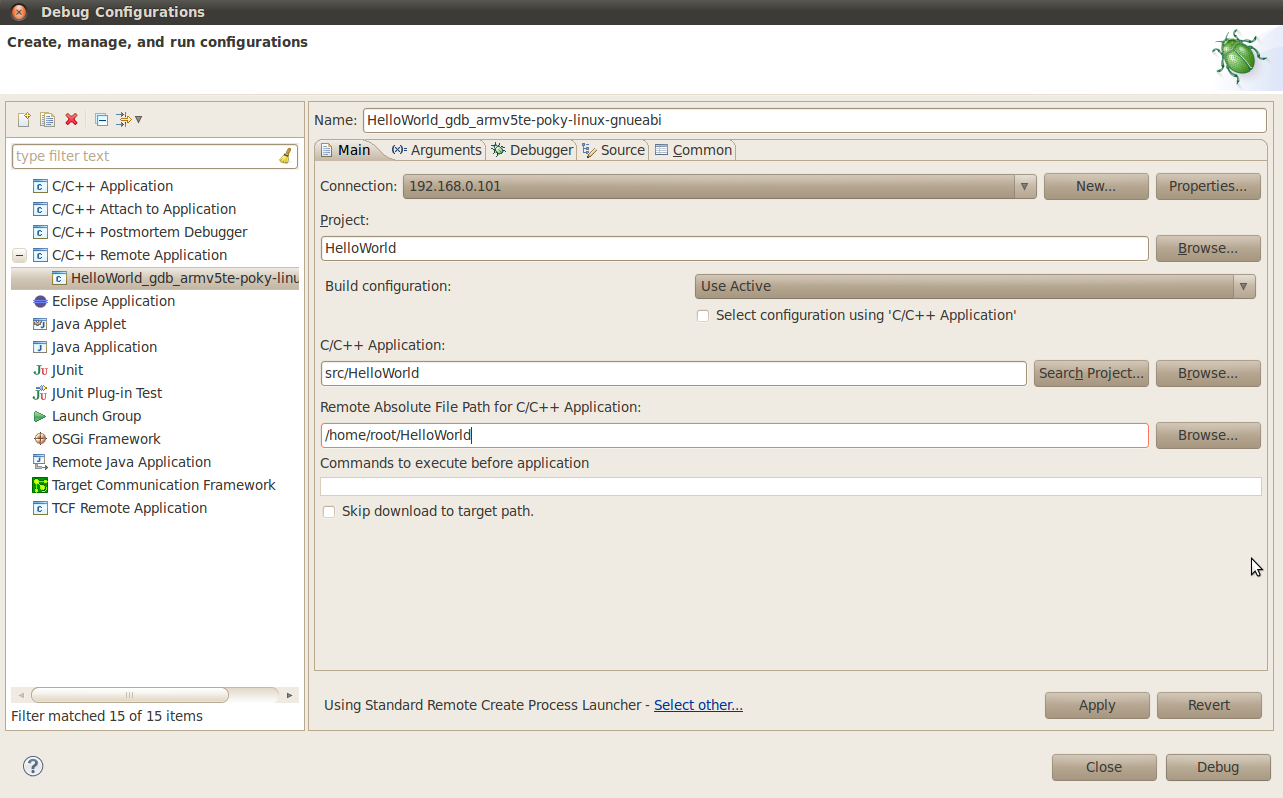
Enter also in the path the name of the application you want to build. (e.g. HelloWorld)
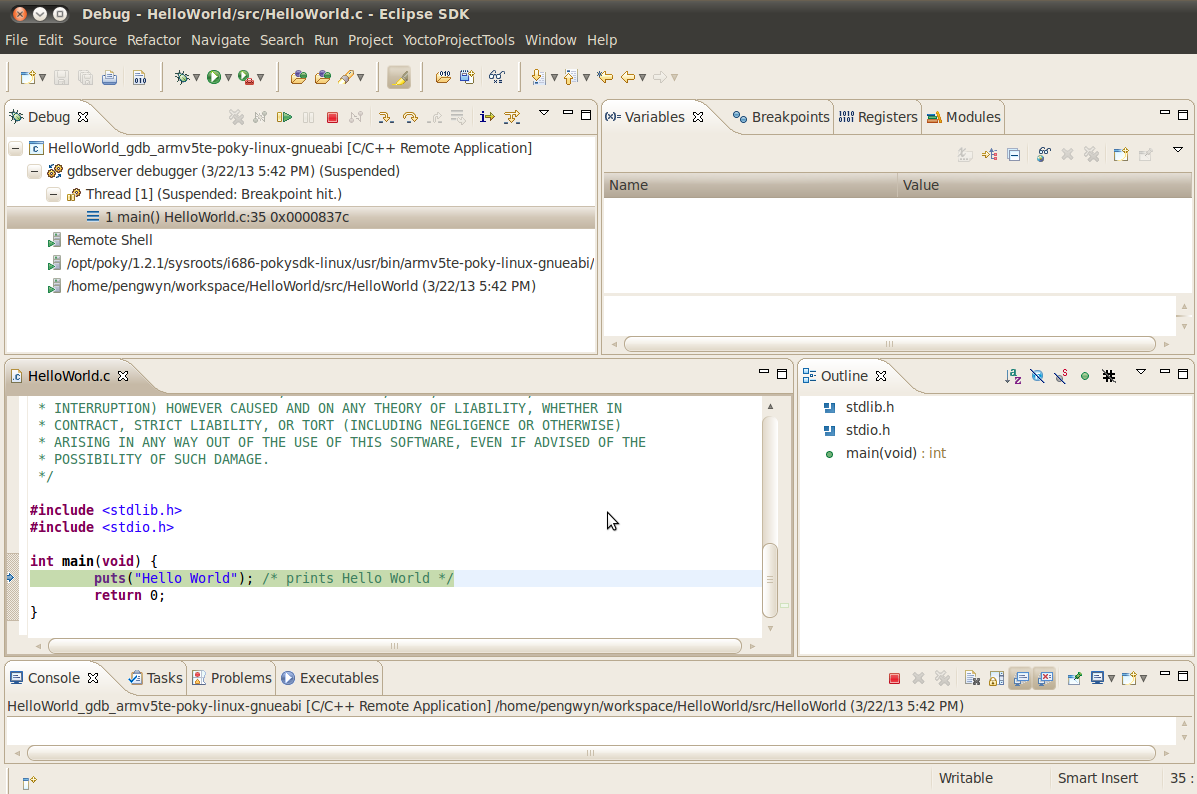
With F6 key you can execute the application step by step. You can see the target output in the eclipse console view